Wall Thickness - CT Scanning Services
Part Inspection Lab
We help companies internally inspect
suspect parts for wall thickness deviations
using our CT scanning services
WALL THICKNESS
Most of our clients identify internal imaging with a personal experience in the medical industry. However, contrary to popular belief our CT Scan services are found to be highly beneficial for inspection of industrial parts and assemblies.
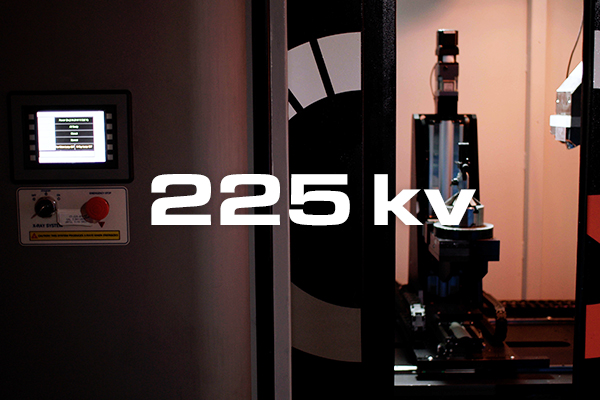
Our advanced Industrial (Computed Tomography) CT Scanning services are able to aid manufacturers when inspecting products with difficult to measure or thin wall thickness features with micro measurement variations.
WALL THICKNESS
CT SCANNING SERVICES
BENEFITS
- Results can identify slight variations in a parts wall thickness, which can become costly to the manufacture in high volume part runs
- Results can identify thin walls not meeting the engineered wall thickness sizes for either structural or pressure requirements.
Need more info on wall thickness?
Review our knowledge section below.
Wall Thickness (Overview)
Overview
Determining the measurement of wall thickness for a part to fulfill various applications is a highly critical aspect of designing and manufacturing a final product. Being able to access internal and external measurements and failures within thin and thick wall applications accurately becomes essential during pre-production stages of manufacturing. Technologically advanced nondestructive testing technologies have provided design engineers and manufacturers with access to quick and accurate wall thickness analysis.
What is Wall Thickness?
Wall thickness is the measurement of the thickness of material composition of a parts structure. Wall thickness is one of the most important factors to focus on when designing and manufacturing any component. If the walls are too thin, often they will be prone to cracking or be unable to handle part applications. When part walls are too thick, they can often warp due to stress during shrinkage. Therefore, understanding the application of the final product and calculating the most feasible wall thickness is necessary to manufacture a functioning and successful part.
Minimum Wall Thickness
The ideal structure of any part would consist of uniform wall thickness, which is determined according to the application and functionality of the final product. In theory, the ideal nominal wall thickness should be utilized to ensure consistency. However, in practicality, it is often not possible to maintain a uniform wall thickness as variations are necessary in design requirements for several applications. Ideally, the thinner the walls of any component, the more cost effective it becomes. Thin wall structures require less raw material and less time for cooling, allowing for shorter cycle times. However, thin wall structures are only feasible for relatively small parts, as large parts will not be able to handle various applications with thin walls. For example, injection molded plastics materials should generally have a minimum wall thickness between 2 mm to 4mm.
Material and Design Guidelines
There are many types of polymers that are the choice of material for injection molding. The selection of the material is highly dependable on various applications and design requirements of the final product. The most common types of polymers include nylons, polycarbonates, acrylics, polypropylene, polyethylene and thermoplastics. Determining the wall thickness of these materials becomes highly critical to ensure it is not too thin to avoid cracking, and not too thick to avoid warpage.
For example, nylon parts generally have a wall thickness of 0.030 in – 0.115 in, whereas polypropylene generally ranges from 0.025 in – .0150 in (subject to manufacturingcenter.com). Similarly, for manufacturing methods such as metal injection molding for metal based components, variations in wall thickness can cause porosity or shrinkage. The nominal wall thickness would depend on the application and design requirements of the final product. To ensure there are no internal defects, changes in wall thickness should be gradual, allowing for material to follow flow path.
Testing
To ensure wall thickness of all structures are according to design requirements, many different testing and inspection techniques can be referenced. However, common traditional methods encourage destructive testing techniques, which leave the part damaged and classified as scrap. Nondestructive testing methods, such as industrial Computed Tomography (CT) can be utilized to access internal measurements and extensive analysis of wall thickness. Material distribution can be quantified internally and externally using industrial CT. Any warpage, cracks and areas prone to weakness can be identified and highlighted, without having to cut open the part or applying any external forces or pressure.
Wall Thickness Analysis
Wall Thickness
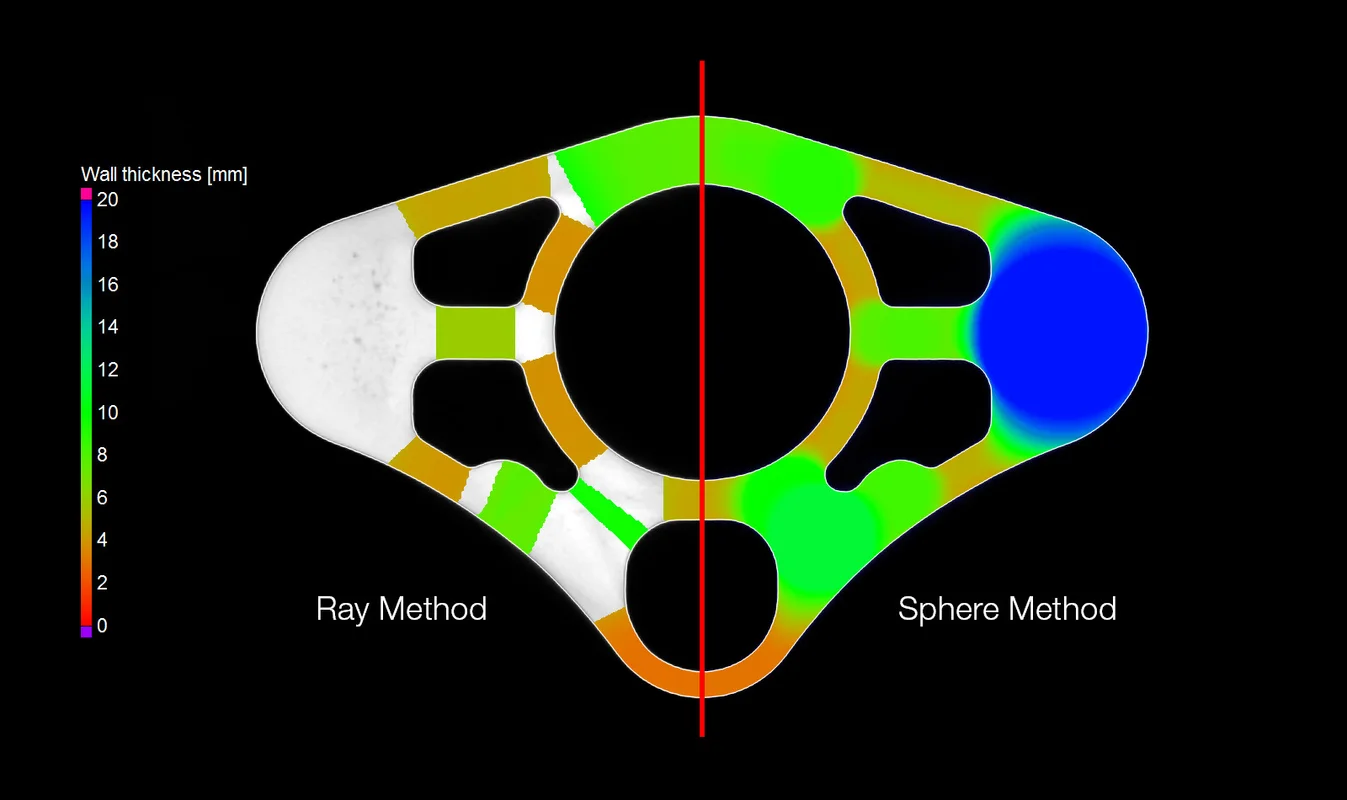
Perform volumetric analyses of a part’s thickness quickly and automatically—either using the ray method for parts with simple shapes or the sphere method for more organic shapes, including complex 3D printed parts. Color-coded results help you localize areas with an insufficient or excessive wall thickness or gap width within the voxel, point cloud, mesh, or CAD data set.
The wall thickness analysis features:
- Automatically and quickly analyze the wall thickness.*
- Offer two different, dedicated methods for cubic and organic parts, respectively:
- For parts with near-parallel surfaces, the ray-based method delivers the best results.
- For organic, curved or even branching surfaces, the sphere method is preferable, especially for complex 3D printed shapes that are topology optimized, generatively designed or even lattice structures.
- Locate areas with an insufficient or excessive wall thickness or gap width automatically and directly within the voxel, point cloud, mesh, or CAD data set.
- Allow the application of tolerances with various parameters, e.g., thickness (minimum, maximum, mean, deviation).
- Reduce the number of false detections with a noise filter, which is especially helpful for automated inspections.
