Computed Tomography - Services
Part Inspection Lab
We help companies thoroughly investigate
parts & assemblies with our high quality
computed tomography services
paired with expert analytical support.


PHASE ONE
CONSULTATION
After the initial inquiry, our services begin by having an in-depth discussion with the inquiring individual and interested parties. If the fit is right for our computed tomography services, the feasibility review considers part/assembly type, material, regions of interest, and the objective for the CT scan.
PHASE TWO
COMPUTED TOMOGRAPHY – SYSTEM MATCHING
We then match the NDT or Metrology inspection need with one of our many and highly diverse computed tomography imaging machines. Our industrial lab utilizes 100kv, 150kv, 225kv, 450kv, and 3MEV linear accelerator Computed Tomography systems with LDA’s and flat panel detectors.


PHASE THREE
ANALYSIS
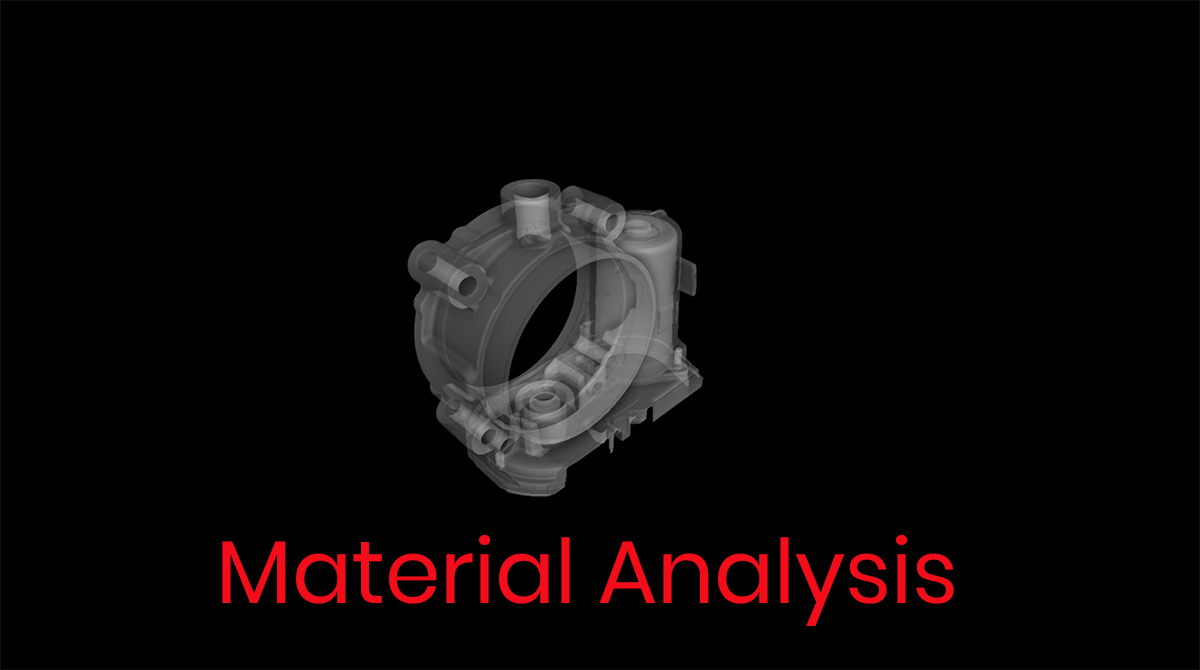
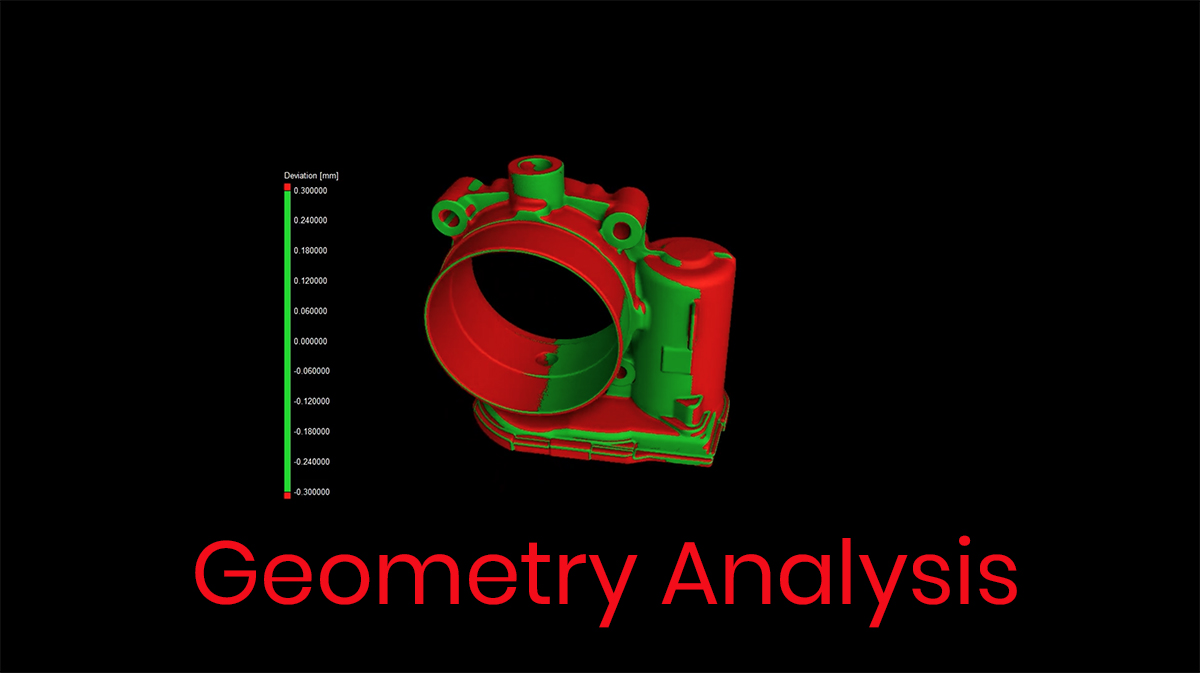
Depending on the Computed Tomography project, we analyze the reconstructed (3D imaging) results for either material or geometry based output requirements.
Material reporting is based upon internal density variations or percent volume changes. These types of Computed Tomography analysis include :
Visualizing virtual cross-sectional slices
Porosity / Inclusion Analysis (Color coded voids, inclusions, and micro pores by volumetric size or percentage)
Enhanced Porosity (Automotive Industry Specific, P201 – 50097, P202 – 50098, P203 Analysis)
Fiber Analysis (Color coded fiber directional reporting)


Geometry reporting is based upon measurement variations or dimensioning requirements. These types of Computed Tomography analysis include :
Part to CAD / Part Comparison (Color coded variations from nominal or another identical part. Alignment by: RPS, 3-2-1 alignment, best fit, sequential)
Wall Thickness Analysis (Color-coded results identifying insufficient or excessive wall thicknes)
First Article Inspection (Tolerancing based upon part print dimensions)
Enhanced FAI (AS9102 Form 3 Reporting)
Reverse Engineering (Generation of a STL file with internal & external part geometry)


PHASE FOUR
REVIEW
As all Computed Tomography projects are unique, each project is finalized between our lab and the customers key decision makers over a results web conference. If required, output deliverables can vary between picture files, excel files, presentations, 3D imaging / CT dataset viewing software, or in some cases STL files.

Need more info on Computed Tomography?
Review our knowledge section below.
( CLICK SECTION AREAS TO EXPAND )
Tomography
Overview
The use and implementation of computer aided tomographic techniques in the late 1970’s allowed users to access an innovative technology for significant contributions for medical applications. Soon after, tomographic techniques were utilized for industrial applications, enabling users to identify and locate internal failures, without cutting open the industrial part. Computer aided tomographic techniques, such as Industrial Computed Tomography (CT), have revolutionized the way industry leaders qualify and validate industrial parts.
What is Tomography?
Tomography is a process of developing a three dimensional image of the internal features of a solid object. The term tomography originates from the Greek term “Tomos”, meaning section or slice. According to the Merriam-Webster dictionary, tomography is a method of producing a 3D image of the internal structures of a solid object by the observation and recording of the differences in the effect on the passage of waves of energy impinging on those structures.

Commonly, tomography is used in combination with x-ray technology, in order to manipulate and reconstruct 2D x-rays into tomographic images which are used to develop a 3D model for the external and internal part surface and structures.
How does Tomography Work?
Tomography refers to the process of capturing images by sections, through some wave of energy; most commonly an x-ray source. For x-ray computed tomography, an x-ray source must be positioned on the opposite side of the detector panel. The radiation is exposed onto the subject being scanned, which is placed between the x-ray source and detector panel. The radiation passes through toward the detector panel and 2D images are captured in pre-determined increments. These tomographic images are then reconstructed using a software, into a 3D model.
Types of Tomography
Although computed tomography is one of the most common type of industrial tomography, there are many other types. Some of the most significant types of tomography include:
- X-ray – Computed Tomography
- Gamma rays – SPECT
- Radio-frequency – MRI
- Electron-positron annihilation – PET
When is Tomography Necessary?
For a 3D model to exist, sectional slices of 2D x-ray images must be captured and reconstructed. Thus, the process of capturing cross sectional slices, or tomographic images is very necessary in order to develop a 3D model. Furthermore, if a user wants to access the internal structures of an object, tomographic images must be captured and analyzed independently, or reconstructed into a 3D model for extensive analysis.
Uses and Applications
Tomographic images assist in developing a 3D rendering or 3D model for inspection purposes. There are many uses of this process including, but not limited to:
- Quality control management tool
- Failure investigation purposes
- Internal part analysis
- Qualify part in its entirety
- Accurate measurement tool
- Dimensional analysis
- Repeatability test

Benefits of tomography
Tomography assists users in accessing certain areas of an object internally, without having to cut it open. This allows users for limitless opportunities and countless benefits, some of which include:
- Internal part access to locate failures
- Internal access for dimensional analysis
- Nondestructive testing
- Save on cost of manufacturing (NDT) and reduce time to production
- Wall thickness distribution analysis
- Comparison analysis
Computed Tomography
Overview
Computed Tomography was developed for medical applications in the early 1900’s (yes the early 1900’s), and was effectively in use by the 1970’s. With the advancements in x-ray sources, computer technology and software, industrial applications for computed tomography have become more prevalent in recent years. Having the ability to digitally capture and reconstruct any object for internal and external evaluation in 3D, computed tomography has provided users with limitless opportunities. Nondestructive testing labs are available to provide easy access and a quick and accurate source for part analysis and evaluation.
What is Computed Tomography?
Computed Tomography, also called CT Scanning, CAT Scanning, or NDT applications Industrial CT Scannig is based on a radiographic testing technique utilizing x-ray technology to view and analyze the internal structure of an object.
Computed Tomography is a nondestructive testing (NDT) method which captures several 2D x-ray images, while a test subject rotates, producing images that can be viewed in cross sectional slices.
These images are reconstructed into a 3D model with the assistance of specialized software. The viewer has the option of evaluating images in 2D x-ray cross sectional slices to analyze a certain area of the object or evaluate the object in complete 3D form. Computed Tomography is commonly used for medical applications to diagnose and analyze internal bodily functions and industrial applications to test and inspect parts for quality control purposes.
How X-ray Computed Tomography Works
Using an x-ray source, geometry is captured and digitally processed to develop a three dimensional rendering for the internal and external features of the scanned object. There are four main components necessary for a computed tomography process to take place:
X-ray source – The x-ray source is the heart of the computed tomography (CT) process.. An x-ray source is placed on the opposite side of the detector panel. The source exposes radiation on to an object to be scanned and analyzed. X-ray energy sources are measured in electronvolts (KeV), which range from low energy to very high energy sources, applying to metal and nonmetallic based components.
Detector panel – Detector panel is what captures two dimensional radiographic images, while the part is on an axis of rotation. These captured images are used to produce cross sectional slices also known as tomographic images. The data and cross sectional slices are transferred on to a software for the final step. As oppose to conventional radiographic testing techniques utilizing film radiography, CT uses digital detector panels to capture data.
Manipulation – Precision movement of the object for precise indexing as per acquistion software call out requests.
Software for means of reconstruction – The cross sectional tomographic images are processed sliced by slice to re-develop and re-construct data into a 3D model. This 3D model is used to analyze part internally and externally. Collectively, this process is completely nondestructive and allows users to utilize the part after the testing process is complete.