Failure Analaysis - CT Scanning Services
Part Inspection Lab
We help companies internally inspect suspect parts using our failure analysis
CT scanning services
Failure Analysis
Most of our clients identify Non Destructive Testing / NDT services with a root cause failure analysis due to an immediate defect impacting the performance of a part or assembly.
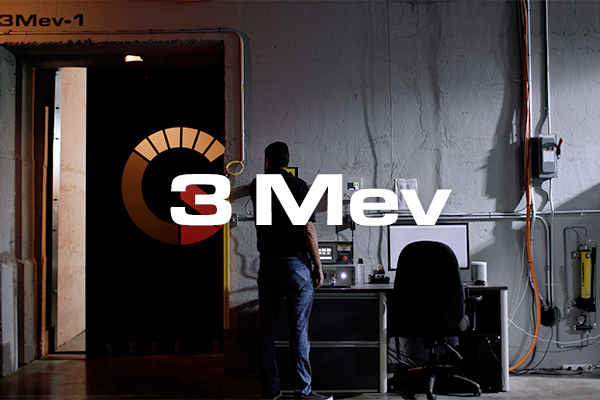
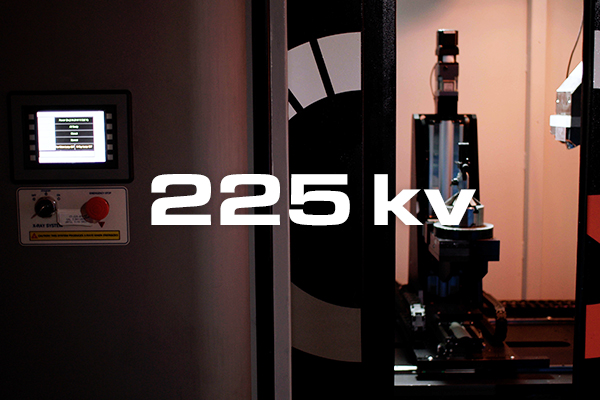
Our advanced (Computed Tomography) CT Scanning services which uses x-ray technology is able to aid manufacturers in providing a quantifiable NDT inspection process for difficult to inspect parts and assemblies.
Our NDT & Failure Analysis lab produces high quality and accurate 2D / 3D X-Ray datasets of internal part features and material density changes. Data captured includes porosity, inclusions, and micro geometry variations allowing clients to benefit from our non-biased results.


FAILURE ANALYSIS
CT SCANNING SERVICES
After a part is CT scanned, custom viewing planes are developed based upon the projects internal viewing requirements. These planes can be established according to part print datums or features on the part. Planes can be square, perpendicular, and angled according to the specified feature.
Once the cross sectional planes have been developed, the plane can be moved throughout the part perpendicular to the plane’s surface. When a slice has been selected, the customer can visualize and accurately measure the intended geometry.
BENEFITS
- Single slice results are extremely clear and well defined as opposed to showing the entire part at once with a 2D x-ray.
- Results can clearly show internal fit and function between mating components, threads, clips, seals, springs, etc.
Need more info on failure analysis?
Review our knowledge section below.
Overview
With every part, object or product, comes a set of different failures modes that could be possible during its lifespan. In order to avoid these failures from occurring, industry professionals have taken advantage of the technological advancements in testing methods for failure analysis purposes. From having access to nondestructive testing labs to being able to attain internal insights on a particular component, the industry has avoided numerous detrimental failures that could have been a potential hazard to user safety.
What is Failure Analysis?
A process in which data is collected by the means of different physical, mechanical or chemical testing and evaluation of an object to determine the cause of a failure. A failure can be defined as any loss of functional credibility of a part to perform as initially intended, where the part can no longer meet the requirements or tolerances it was initially manufactured to meet.
The process of collecting and evaluating test data is with the intent to determine and identify solutions for corrective action. Although every part has modes of failure, some may be significantly simple whereas some may be detrimental to the functionality or the safety of users. Thus, some investigations may be straightforward, whereas some may be time consuming and rather frustrating. It is highly beneficial for the analyst to understand the manufacturing process, material and functionality of part being inspected for an extensive and accurate failure analysis report.
When is Failure Analysis Necessary?
Although every project is different subject to its requirements and processes, there are common factors involved in determining when conducting a failure analysis investigation would be beneficial:
- Any aspect/flaw/defect that interrupts production
- Deviations from initial design
- Not meeting project requirements or tolerances
- Any defect which can have effect on the functionality of the component
- Service conditions – the part has been under pressure
- Assembly alignment mismanagement
- Part surface has accumulated deviations
- Manufacturing process – accumulation of internal flaws
Steps to Conduct Failure Analysis
As mentioned above, every project is different subject to the project requirements and purpose of failure analysis investigation. However, below is an extensive layout in order to form a direction and structure for a investigation (according to the American Society of Metals [ASM]):
- Collection of background data and selection of samples
- Visual examination and documentation of parts
- Non-destructive testing
- Mechanical testing
- Comparison analysis from test results to perfected parts
- Macroscopic examination
- Microscopic examination
- Preparation of metallographic sections
- Analysis of metallographic specimen
- Identify failure mechanism
- Chemical analysis
- Analysis of fracture sections
- Testing under simulated service conditions
- Analysis of all evidence with recommendation for solutions
For a simpler outlook on the general process and steps for a failure analysis investigation, see below:
- Background Information
- Documentation
- Testing (Nondestructive testing/ chemical testing/ mechanical testing/ metallographic testing)
- Analyze all testing data and conclude
- Written report with recommendation
Types of failure analysis testing techniques
In order to test a part to identify the location of flaws and failures internally and on the surface of the part, accuracy becomes the main priority. There are numerous technologies to use in order to identify and analyze part failures, including but not limited to:
- Microscope
- Radiography
- Surface analysis tools
- CAD navigation techniques
- Laser techniques
- Spectroscopic analysis
Methods of investigation
There are many ways to implement a failure analysis study, although there are two main methods recognized by the industry:
Failure Modes Effects Analysis (FMEA) – This method utilizes a ranking system. Each part is identified in its entirety and a certain failure which may or may not be common, is identified. The failure mode effects are documented. A ranking system (usually from 1-10, 10 being the highest, is utilized) is implemented to rank the severity of the flaw, the probability of occurrence, the probability of not detecting and finally the risk priority number (RPN). The risk priority number is the combination of severity multiplied by the ranking of occurrence, multiplied by the ranking of detection. The higher the RPN, the more attention that failure mode requires in regards to testing, evaluation and suggestive solution.
Fault Tree Analysis (FTA) – This method is provides a birds eye view on a top down approach to understand the accumulation of flaw and failures. A “tree diagram” is formed, with the top event indicating the undesirable event or the failure. Moving down, the first level causes of those failures are highlighted as basic events. Moving further down, a link is highlighted leading to the second level contributors. The process continues so the diagram can be utilized for extensive understanding and the breakdown of the failure, in order to move forward in testing and analysis for suggesting corrective action.
Benefits
Every part or product has a failure mode. For example, a tire can become flat, a medical device can deviate from initial design, and an aerospace casting can accumulate internal porosity. Failing to conduct an investigation to locate and evaluate flaws can have detrimental effects, not only to the functionality of the product but to the user’s safety. Failure analysis investigation provides many benefits, including:
- Prevent malfunctions or product destruction
- Ensure reliability, consistency and repeatability
- Maintain and sustain product life span
- Improve and increase product quality
- Ensure product is meeting all part tolerances and design requirements
Application
Failure analysis is very common for industrial applications. It can be utilized in any stage of the manufacturing cycle of a product. Investigations can aid in the following areas:
- Pre-production process development
- Prototyping
- Design and evaluation
- Evaluation and analysis of manufacturing process
- Production failures
- Research and design


